 Handcrafted in Canada
Measure a ring
Choose a ring that already fits the intended finger. Measure its inner diameter in millimetres and compare it with the table.
RING SIZE & EARRING SETTING GUIDE
The most accurate way to find your size is to visit the Vancouver Studio. For a surprise or online order, use the guide below as a helpful starting point.
Choose a ring that already fits the intended finger. Measure its inner diameter in millimetres and compare it with the table.
Use a flexible tape or a narrow strip of paper. Measure at the end of the day, when fingers are at their natural size.
Choose the larger size. We can confirm the fit in person and discuss whether a selected setting can be resized.
Bring an existing ring to the studio or arrange a private fitting.
A CLOSER LOOK AT EARRING FASTENINGS
Earring settings describe how a piece closes behind the ear. Each style has its own feel and fastening method. Compare the illustrations and choose the option that best suits how you like to wear your earrings.
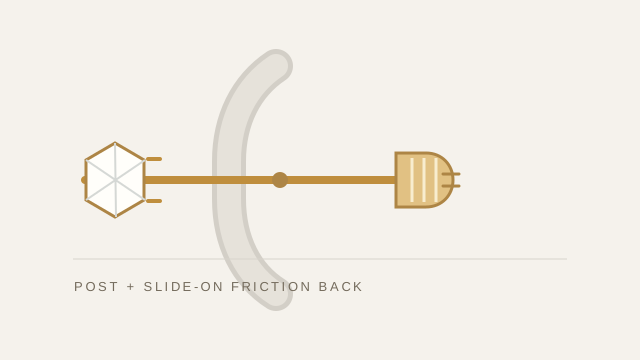
A slim post passes through the piercing and a small friction-fit backing slides onto it. The backing presses gently against the post to hold the stud in place. Push backs are straightforward to put on and remove, making them a familiar choice for everyday studs. Before wearing, check that each backing feels snug; replace it if it becomes loose, and remove earrings before sleeping or strenuous activity.
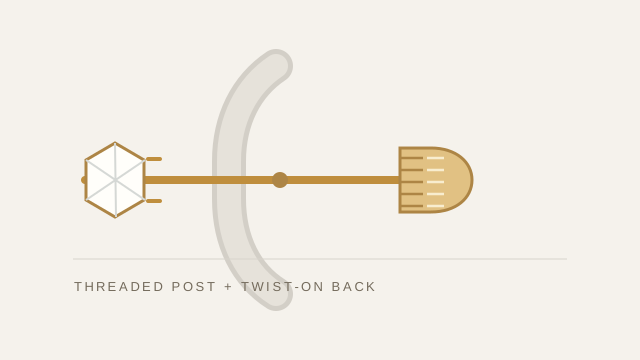
A threaded post passes through the piercing, and the backing twists onto the thread. It takes a little longer to fasten than a push back, but the backing stays attached to the post when it is properly secured. Hold the stud steady and turn the backing gently until it is comfortably in place; avoid forcing or overtightening it. Check the closure before each wear.
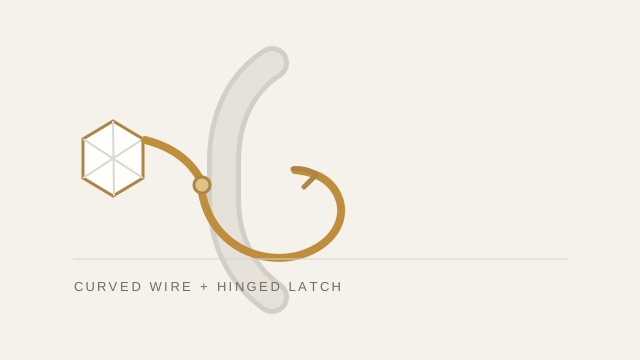
A curved wire passes through the piercing and closes into a hinged latch behind the ear, forming a continuous loop. This style is often used for drop earrings and gives the earring a graceful, finished profile. To fasten it, guide the wire through the piercing and make sure the lever clicks fully into its catch. Open the hinge gently when removing the earring.
Available fastening styles vary by design. Check the options on each product page, and contact our Vancouver Studio if you would like help choosing.